
By now we’re all used to recording videos at home and although much has been learned, there are still ways to refine your production. In the spirit of all DYI-ers, the LX.lab has gathered some pro tips to improve your home studio and enhance the quality of your videos.
Improving camera quality
Your laptop or computer probably has a decent built-in camera, good enough to get the job done. Here are a few tips to improve your video quality.
Improve your lighting
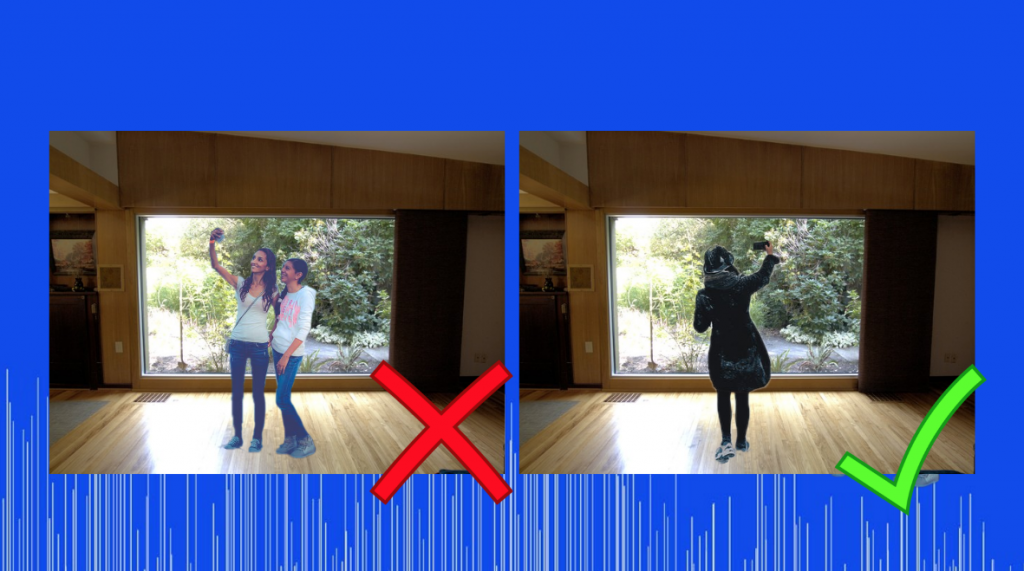
Good lighting is the easiest way to improve your camera quality, and natural light is the easiest way to light yourself. Find a window and face it – your face should be completely lit up. A good rule of thumb is to never record yourself with a window or a bright screen behind you. The camera will focus on that background light and turn you into a dark silhouette.
Use a better webcam
If your lighting is good but you still want higher picture quality, you’re going to have to look at possibly getting a better camera. You can get a decent USB HD webcam from anywhere between $50-$200. Alternatively, you could also connect your phone with it’s charging cable to your computer, and use it as a webcam with the help of an app like Camo.
Reminders for recording with Zoom
If you’re just making a prerecorded video, try and record offline with a different program other than Zoom. Zoom is a great video conferencing program, but it heavily compresses your video and audio. So consider using another program like Kaltura Capture, Quicktime, Photo Booth or the built-in camera app to record. Alternatively, if you’re recording a live Zoom session and feel like your quality isn’t up to scratch, try checking the strength of your internet connection.
Make sure your camera is eye-level
Try to avoid looking down at your camera. Most people on their laptops will find themselves looking down – this means your audience will be looking right up your nose. To avoid this, find some books to place underneath your laptop so you’re more eye-level with your camera. It’ll look much nicer!
Improving audio quality
Audio can be the most important aspect to your video. There’s many variables that can go into improving your audio quality. Here’s a few things you should consider.
Improving your recording environment
If the built-in microphone to your device is all you have, then we have to make the most of it! First, try and not be too far away from your device. The closer you are to the microphone, the clearer the audio quality will be. Do your best to find a quiet space to record. Recording outside can be tricky because of noise. When inside, turn off fans and air conditioning. Try to avoid rooms with tiles as they’ll create echo. Instead, try a room with some carpet or a rug to absorb the sound.
Use an external microphone
For best results however, it’s probably better to use an external mic. You can buy some pretty amazing podcast-ready USB microphones for under $200. Alternatively, the LX.lab can post a lapel microphone to your house if you just simply just fill out this form, however keep in mind this may not work with all laptops.
Editing your video
If you need to edit your recording, but don’t have access to specialist video editing software, there are some free options you can use.
Free editing programs
Most computers or laptops have basic editing programs pre-installed.
- Mac Users – iMovie should come pre-installed on your computer; here’s a tutorial on how to use iMovie
- PC Users – Windows 10 Video Editor should come pre-installed on your computer; here’s a tutorial on how to use Windows 10 Video Editor
Most mobile recording devices will let you trim the start or end of the video.
- Tips for video editing on iPhone/iPad
- Tips for video editing in Quicktime/Mac
- Tips for video editing on an Android device
- Tips for video editing in Windows 10
Browser-based editing programs
If you’re uploading your video to Kaltura or YouTube, you can also edit it there. While these are reliant on your internet speed, if no other video editing programs are available to you, these should work well for trimming video clips.
- Kaltura Video Editor (available in Canvas): Here’s a tutorial on how to edit videos in Kaltura.
- YouTube Video Editor: Here’s a tutorial on how to edit videos in YouTube Studio.
Sharing Your Video
With your video complete, it’s now time to share. Here are some things you might consider when sharing your video.
Streaming vs download
If you’re sharing a video for someone to view, you should upload your video to a streaming platform like Kaltura (embedded in Canvas) or YouTube. We highly recommend for learning & teaching purposes you use Kaltura as some overseas students may have issues with YouTube. If you’re sharing a video for someone to download, upload the video to cloud storage, like OneDrive, instead.
Compress large video files
While there’s no maximum file size limit in Kaltura or Microsoft Stream, large video files can affect upload and download speed. One of the most popular tools that can significantly minimise file size without losing quality is HandBrake. Here’s a tutorial on how to use Handbrake.
Captions
Most video streaming platforms, including Kaltura, YouTube and Microsoft Stream, will auto-generate captions for your video. Consider checking and editing these captions after you’ve uploaded the video to make sure they’re clear and legible for your viewers. Here’s some more useful information about using captions.
Feature image by George Milton